
Follow Me On Social Media!
Chocolate Croissant Loaf: A Flaky, Buttery Masterpiece.
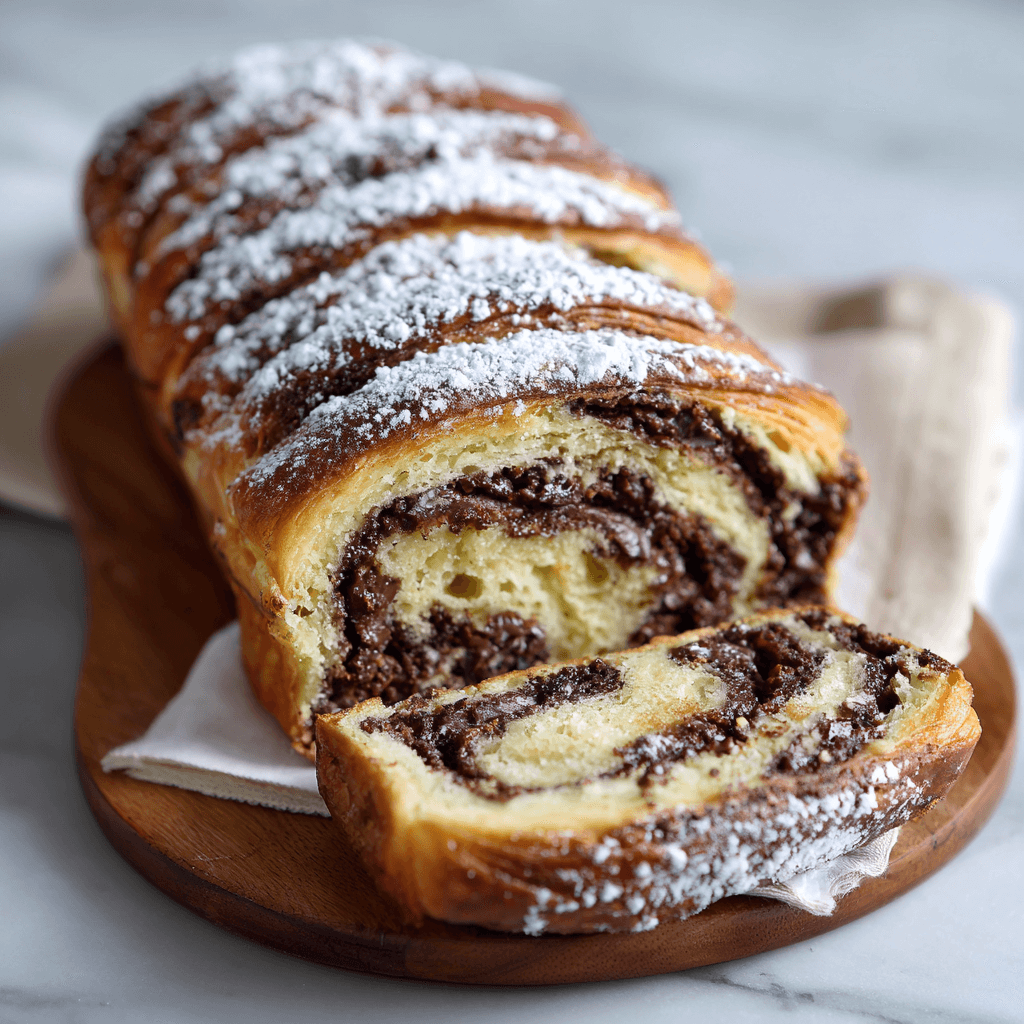
The Chocolate Croissant Loaf, often referred to as a “Pain au Chocolat Loaf,” is the ultimate fusion of French patisserie and a traditional pull-apart bread. It utilizes the lamination technique—folding layers of cold butter into yeast dough—to create a loaf with a crisp, golden exterior and a honeycombed interior filled with molten chocolate.
Unlike individual croissants, the loaf format allows the center to stay incredibly soft and moist, making it perfect for slicing or tearing while still warm.1
Ingredients
The Laminated Dough
- All-Purpose Flour: 500g (chilled).
- Whole Milk: 250ml (cold).
- Instant Yeast: 7g.
- Granulated Sugar: 60g.
- Salt: 10g.
- Unsalted Butter (for the dough): 50g, softened.
- Unsalted Butter (for the butter block): 250g, cold and high-quality (minimum 82% fat).
The Filling & Finish
- Dark Chocolate Batons or Chips: 150g (60% cocoa).
- Egg Wash: 1 egg beaten with 1 tablespoon of milk.
- Simple Syrup: 2 tablespoons (optional, for a professional shine).
Instructions
Step 1: The Détrempe (Base Dough)
Combine the flour, sugar, salt, and yeast in a mixer. Add the cold milk and 50g of softened butter. Knead for 5 minutesuntil the dough is smooth but not overly elastic. Shape into a flat rectangle, wrap in plastic, and chill in the refrigerator for at least 2 hours (or overnight).
Step 2: The Butter Block
Place the 250g of cold butter between two sheets of parchment paper. Use a rolling pin to beat and roll the butter into a consistent $15 \times 15$ cm square. Return it to the fridge for 10 minutes; it should be pliable like clay, not brittle.
Step 3: Locking in the Butter
Roll the chilled dough into a $30 \times 15$ cm rectangle. Place the butter block in the center and fold the dough flaps over it so they meet in the middle, sealing the butter inside.
Step 4: The Turns (Lamination)
- First Turn: Roll the dough into a long rectangle ($60$ cm long). Fold it like a letter (bottom third up, top third down). Turn the dough 90 degrees and chill for 30 minutes.
- Second & Third Turn: Repeat the rolling and folding process two more times, chilling for 30 minutes between each turn.2 This creates the hundreds of flaky layers.
Step 5: Shaping the Loaf
Roll the dough into a final rectangle roughly the width of your loaf pan. Sprinkle the chocolate batons or chips evenly across the surface. Roll the dough up tightly into a log and place it into a greased loaf pan.
Step 6: The Proof and Bake
Cover and let the loaf rise in a cool, draft-free spot for 2 to 2.5 hours. It should double in size and look visibly layered. Preheat your oven to 190°C. Brush the top with egg wash and bake for 35–40 minutes until deep golden brown.
Flavor and Texture Notes
This loaf is a symphony of textures. The crust is shatteringly crisp and caramelized, while the inside is buttery, airy, and soft. The dark chocolate provides a rich, bitter-sweet contrast that cuts through the intense decadence of the laminated pastry.
Tips for Success
- Temperature Control: If the kitchen is too warm, the butter will melt into the dough, and you will lose your layers. If the dough feels soft, put it in the freezer for 10 minutes before continuing.
- The “Windowpane” Test: For croissant dough, you actually want to avoid developing too much gluten. Stop kneading once the dough is smooth; the rolling process will do the rest.
- Slicing: Wait at least 45 minutes before slicing. If you cut it while piping hot, the internal steam will escape, and the layers may collapse.
FAQ
| Question | Answer |
| Can I use puff pastry? | Store-bought puff pastry lacks yeast, so it won’t rise like a loaf. It will be much flatter and more like a giant cracker. |
| How do I store it? | Keep at room temperature for up to 2 days. To restore the crunch, toast slices in a warm oven for 5 minutes. |
| Can I use milk chocolate? | You can, but dark chocolate holds its shape better during the long bake and provides a better flavor balance. |
Conclusion
The Chocolate Croissant Loaf is a rewarding project for any baker looking to master the art of lamination. While it requires patience and a cool environment, the result is a bakery-quality centerpiece that is far superior to anything store-bought.