Follow Me On Social Media!
Classic French Macarons: A Masterclass in Delicate Patisserie.
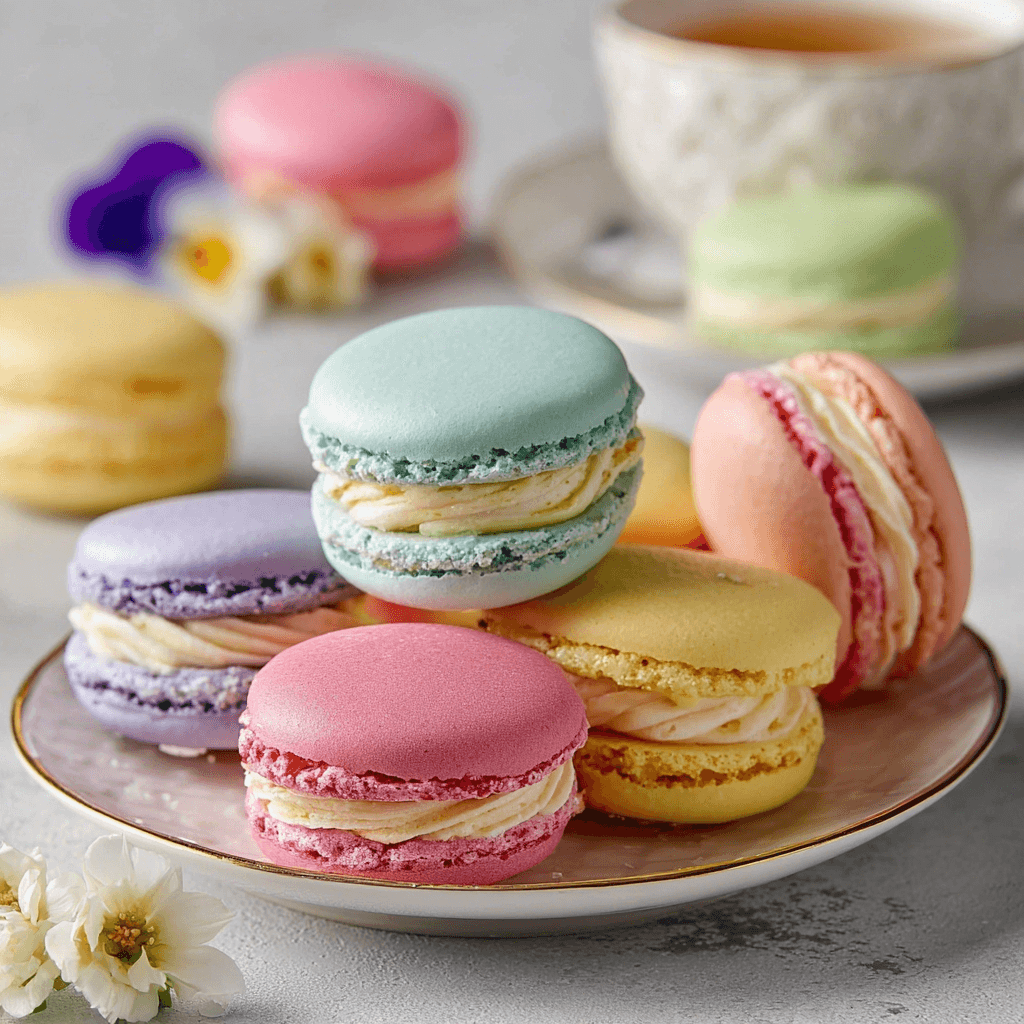
French macarons are often regarded as the pinnacle of the pastry world—not because their ingredients are complex, but because they require a level of finesse and patience that few other cookies demand.1 A perfect macaron should have a smooth, eggshell-thin crust, a chewy, slightly moist interior, and the iconic “feet” (the ruffled edges at the base).
I have spent years refining this method because I know how frustrating a hollow or cracked shell can be. The secret isn’t in a special oven or a professional mixer; it is in the “macaronage”—the specific way you fold the batter to achieve the perfect flow. This recipe uses the French meringue method, which is the most accessible for home cooks. It is a reliable, honest guide designed to help you master the technique and produce bakery-quality results in your own kitchen.
Ingredients
The Dry Base
- 1 3/4 Cups Powdered Sugar: Sifted twice.
- 1 Cup Super-Fine Almond Flour: Sifted twice. Do not use almond meal, as the skin fragments will ruin the smooth finish.
The Meringue
- 3 Large Egg Whites: Aged at room temperature for at least 24 hours if possible.
- 1/4 Cup Granulated Sugar.2
- 1/2 Teaspoon Cream of Tartar: This stabilizes the egg whites and is essential for success.3
- 1/2 Teaspoon Pure Vanilla Extract.4
- Gel Food Coloring: Optional. Never use liquid coloring, as it alters the moisture content of the batter.5
Basic Vanilla Buttercream Filling
- 1/2 Cup Unsalted Butter: Softened.
- 1 1/2 Cups Powdered Sugar.
- 1 Teaspoon Heavy Cream.
Instructions
1. The Double Sift
In a medium bowl, whisk together the almond flour and powdered sugar. Sift this mixture through a fine-mesh sieve at least twice. Discard any large bits of almond that won’t pass through. This ensures your shells have a professional, glass-like surface.
2. Beat the Meringue
In a perfectly clean, grease-free glass or metal bowl, beat the egg whites and cream of tartar on medium speed until soft peaks form. Gradually add the granulated sugar one tablespoon at a time, increasing the speed to medium-high.6 Continue beating until stiff, glossy peaks form. If you lift the whisk, the peak should stand straight up without drooping. This is when you add your vanilla and gel coloring.
3. The Macaronage (The Fold)
Gently fold the dry ingredients into the meringue in three stages using a silicone spatula. Once combined, begin the macaronage: scrape the batter around the sides of the bowl and then “smush” it through the center. Repeat this until the batter reaches a lava-like consistency. It should flow off the spatula in a continuous ribbon. If you can draw a “figure 8” with the batter without it breaking, stop immediately.
4. Piping and the “Tap”
Transfer the batter to a piping bag fitted with a medium round tip. Pipe 1.5-inch circles onto a baking sheet lined with a high-quality silicone mat or parchment paper. Once piped, slam the baking tray firmly against the counter 3 to 5 times. This pops any hidden air bubbles that would otherwise cause the shells to crack in the oven.
5. The Drying Phase
Let the piped shells sit at room temperature for 30 to 60 minutes. This is the most critical step. You must wait until a “skin” forms on the top. When you can gently touch the surface without the batter sticking to your finger, they are ready to bake. This skin forces the air to escape out the bottom, creating the “feet.”
6. The Bake
Bake at 300°F (150°C) for 17 to 20 minutes. To check for doneness, gently touch the top of a macaron; if it doesn’t wobble on its feet, it is done. Let them cool completely on the tray before attempting to remove them.
7. Fill and Mature
Pair up shells of similar sizes. Pipe a small dollop of buttercream onto one shell and sandwich it with the other. Place the finished macarons in an airtight container in the fridge for 24 hours. This “maturation” process allows the shells to soften slightly and the flavors to meld.7
Flavor & Texture Notes
A perfect macaron is a study in textural contrast. The initial sensation is the shatter of the crisp outer shell, which immediately gives way to a soft, almond-rich chew.
Flavor-wise, the shells are quite sweet, which is why they are traditionally paired with a slightly salty or acidic filling. The almond flour provides a subtle, nutty backbone that balances the sugary meringue.8 It is a light, elegant bite that feels incredibly luxurious on the palate.
Tips & Variations
- The Cocoa Switch: Replace 2 tablespoons of the powdered sugar with unsweetened cocoa powder for chocolate shells.
- Fruit Fillings: Use a thick raspberry jam or a lemon curd instead of buttercream for a brighter, tarter profile.
- Salted Caramel: A thumbprint of salted caramel in the center of the buttercream creates a sophisticated flavor surprise.
- Maturation is Key: Do not skip the 24-hour rest in the fridge. Freshly baked macarons are often too crunchy; the rest period is what creates that famous “melt-in-your-mouth” texture.
Storage & Make-Ahead
- Refrigeration: Macarons keep beautifully for up to 5 days in the refrigerator.
- Freezing: These are one of the few pastries that freeze exceptionally well. You can freeze filled macarons in an airtight container for up to one month.
- Serving: Always bring macarons to room temperature for 20 minutes before serving to ensure the filling is creamy and the shells are tender.
FAQ
Why did my macarons crack?
Usually, this means the air bubbles weren’t tapped out well enough, or the shells didn’t dry long enough to form a sturdy skin before going into the oven.
Why are my shells hollow?
Hollow shells are often the result of over-beating the meringue or under-folding the batter during the macaronage stage. It can also happen if your oven temperature is too high.
Do I really need to age the egg whites?
While you can get away with fresh eggs, “aged” whites have less moisture, which makes for a more stable meringue. If you’re in a hurry, you can microwave the whites for 5–10 seconds on low power to mimic the aging process.
Conclusion
Mastering the French macaron is a journey of precision and practice. While they may seem intimidating at first, following the steps of sifting, proper folding, and patient drying will yield incredible results. It is a rewarding recipe that turns simple pantry staples into a world-class dessert.